September 15, 2026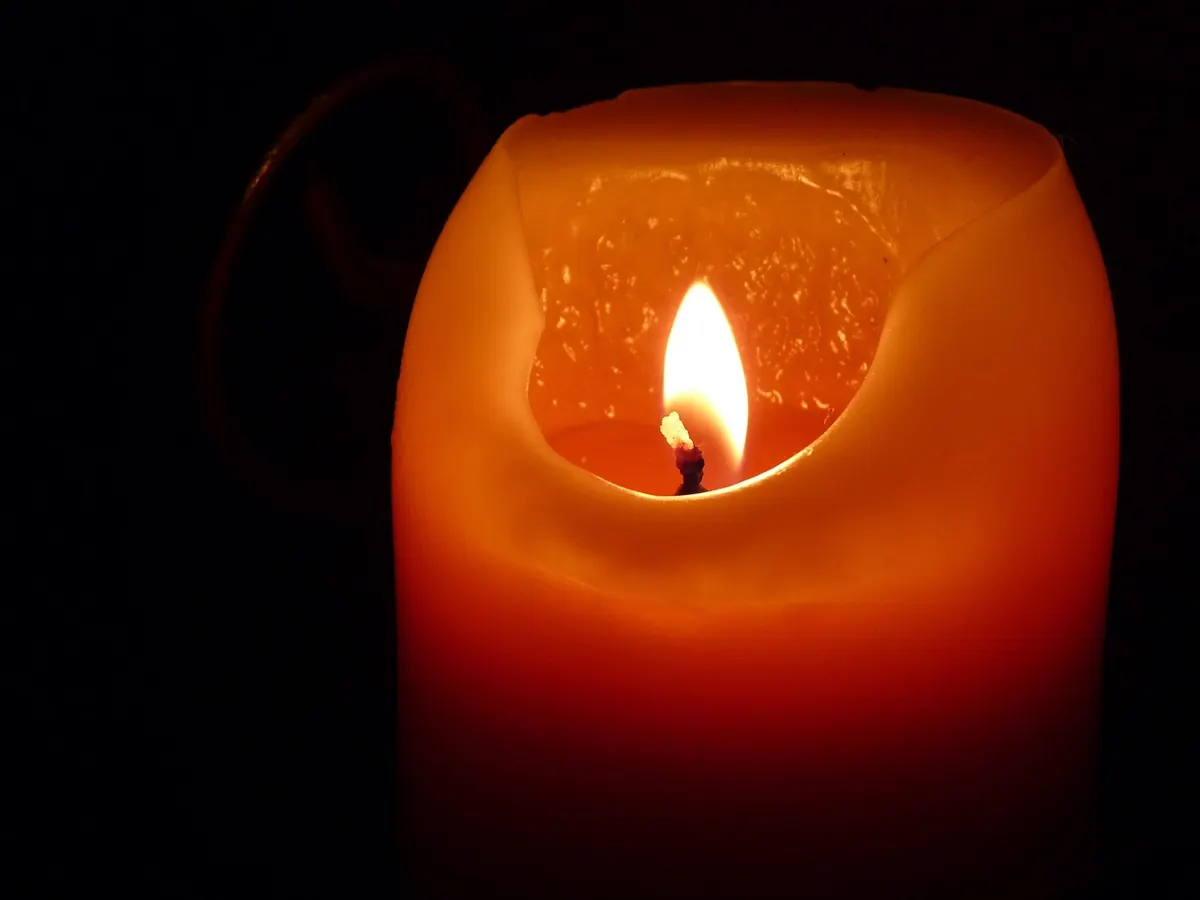
Making your first soy candle takes about an hour of hands-on work and very little equipment. The method is short: melt wax, add scent, wick a jar, pour, wait. Your first one will probably have a slightly uneven top or a wick that leans a little. That is normal, and it will still burn. What follows is the whole process, including the small decisions that make the difference between a candle you use up and a hobby you keep.
What You Actually Need
You don't need a dedicated workroom or a starter kit with forty pieces. Everything below fits on one counter.
- Soy wax flakes. One pound makes roughly two 8-ounce jars. Buy a container blend rather than a pillar blend; container wax is softer and made to cling to glass.
- A heat-safe jar. Straight-sided glass, 2.5 to 3.5 inches across, with no cracks or chips. Thick-walled jelly jars work well.
- A wick with a metal tab, sized for your jar's diameter. Buy two sizes if you can — wick choice is the biggest variable in a first batch.
- A wick sticker or hot glue, plus two pencils or chopsticks to hold the wick upright.
- A pouring pitcher. A metal candle pitcher is ideal; a clean tin can with a bent lip or a glass measuring cup with a spout also works.
- A pot for a water bath and a thermometer that reads to at least 200°F.
- A kitchen scale.
- Optional: candle-safe fragrance oil and dye.
- Paper towels and an old towel for the counter.
Weigh everything rather than measuring by volume. Wax and fragrance are sold by weight, and a measuring cup will throw your ratios off enough to matter.
Match the Wick to the Jar
Wick sizing is about diameter, not jar height. Too small, and the flame can't melt wax out to the edges, so you get a tunnel down the middle. Too large, and the jar runs hot, the wick mushrooms, and the scent burns off faster than it releases. If your jar is around three inches across, start with a wick sold for that range and keep a size up and a size down on hand. Press the tab flat into the center of the jar bottom — it needs to sit dead-center, because a wick even a quarter inch off will burn unevenly. Trim it to about a quarter inch before each burn, always.
Melt the Wax
Put two or three inches of water in your pot and bring it to a bare simmer. Set the pitcher in the water; don't let it touch the bottom of the pot directly, and don't let water splash in. Weigh your wax — a typical 8-ounce jar takes about 6 ounces of wax by weight, which leaves a half inch of headspace at the top.
Stir gently with a skewer or spoon as the flakes melt. Stirring hard whips air into the wax, and trapped air becomes bubbles and cracks later. Bring it to 180–185°F. If it starts to smoke, it's too hot; pull the pitcher out and let it cool for a minute before continuing.
Two safety habits matter here. Never leave melting wax unattended, and never melt it over direct high heat. If wax ever catches fire, turn off the heat and cover the pitcher with a lid — do not throw water on it. Keep a box of baking soda nearby, and work with a window open or a fan running.
Add Fragrance, Then Pour
- Scent the wax at 180–185°F. Weigh your fragrance oil at about 1 ounce per pound of wax, which is a good starting point for soy. Pour it in slowly and stir gently for about two minutes, until it disappears into the wax.
- Prep the jar. Wash and dry it, then warm it with a hair dryer for a few seconds. A warm jar keeps wax from pulling away from the glass as it cools.
- Cool the wax to 130–140°F. Take the pitcher off the heat and check the thermometer. Pouring hotter than this causes more shrinkage, sinkholes, and uneven tops.
- Pour slowly into the center of the jar, stopping about half an inch below the rim. Pouring against the side can shift the wick.
- Center the wick immediately. Rest two pencils across the rim and hold the wick straight between them, or use a wick holder clip. A wick that dries leaning stays leaning.
- Leave it alone for 24 hours at room temperature. Don't move the jar and don't refrigerate it — fast cooling causes cracks and wet spots.
Cure Before You Burn
This is the step beginners skip, and it's the one that decides how the candle smells. Let the candle sit covered — a lid, a box, a clean tea towel — for three to seven days. Soy needs that time for the fragrance to bind with the wax. Burn it the same day you pour it and the scent will be faint and sharp; wait a week and it's a different candle.
When you do light it, trim the wick to a quarter inch and burn it on a heatproof surface, away from curtains and drafts. Let the first burn run two to three hours, until the melted pool reaches the edge of the jar. That first pool sets the candle's memory, and skipping it is what causes tunneling later. After that, keep burns to about four hours at a stretch and stop when half an inch of wax is left.
Fixing the Usual First-Batch Problems
A dip or sinkhole in the top
Wax contracts as it cools. It's cosmetic. Warm the surface with a hair dryer, or pour a thin top-off layer of wax to level it.
Wax pulling away from the glass
The jar was cold or cooled too quickly. Warm your jars next time. It looks odd but doesn't affect how the candle burns.
Tunneling
The wick is too small for the jar, or the first burn was cut short. Burn longer next time, or size the wick up.
Barely any scent
Usually too little cure time, too little fragrance, or fragrance added when the wax was above 200°F and much of it evaporated.
A wick that smokes or keeps drowning
Check three things: trim the wick, confirm it's the right size for the jar, and move the candle out of any draft.
Keep a Note for Every Batch
Write four lines after each pour: wax weight, fragrance percentage, pour temperature, and wick size. Add the cure days and how it actually burned. That little log is what turns a one-off experiment into something you can repeat and improve. Next time, change one variable — a different wick, a longer cure — and compare. Small, specific adjustments beat starting over from scratch, and by batch three you'll have a candle that smells and burns exactly the way you want.
Photo: stheaker / Pixabay