September 17, 2026
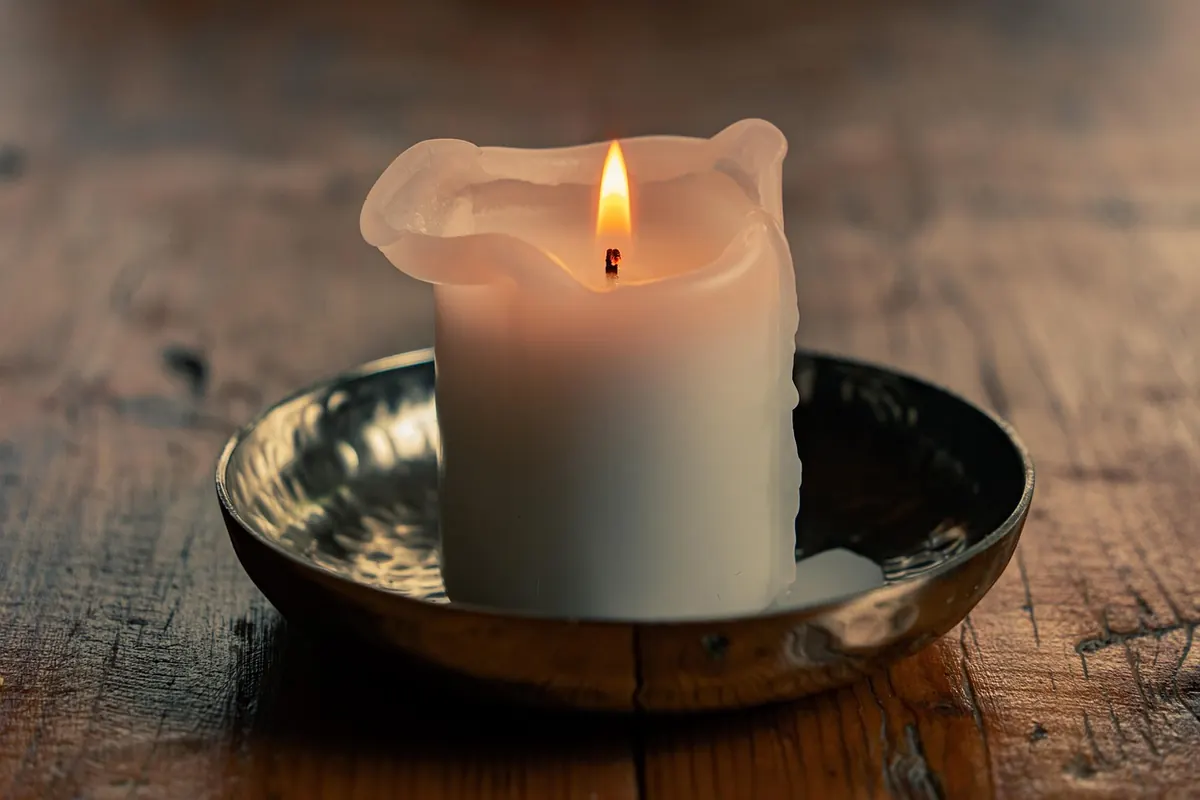
You light a candle, settle in, and twenty minutes later the flame is sitting at the bottom of a narrow well, walled in by a ring of hard, untouched wax. You blow it out. The next burn only deepens the hole. That's tunneling, and by the time most people notice it, the candle has quietly given up a good chunk of its burn time.
The reassuring part: tunneling almost always comes down to two things — how long the candle burned the first time, and how long the wick was when it was lit. Both are within your control, and a candle that's already tunneled can often be rescued instead of tossed.
Why Candles Tunnel
A candle burns from the inside out. The flame melts the wax directly beneath it, and that pool is supposed to spread outward until it reaches the edge of the container. When the pool stays narrow, the rim remains solid, the wick sinks lower with every burn, and the flame eventually drowns in its own melt. A few things keep the pool from spreading:
- Short first burns. The most common cause. If you light a candle for twenty minutes and blow it out, the wax only melts in a small circle. That circle becomes the candle's shape.
- Wicks trimmed too short. A quarter inch is the target. Trim it flush and the flame is too small to melt its way to the rim.
- A wick undersized for the jar. Wide containers need a thicker wick, or two or three wicks, to generate enough heat.
- Drafts. A vent, ceiling fan, or open window pushes the flame sideways, so the wax melts unevenly and the pool never goes round.
- A cold jar. A candle stored in a chilly room, a garage, or on a windowsill in winter takes longer to reach a full melt pool — and often never gets there before you snuff it.
The First Burn Sets the Rules
Wax has a memory of sorts. The diameter of that first melt pool tends to be the diameter the candle returns to on every burn afterward, which is why the initial lighting matters more than any other single session.
The guideline most chandlers use is one hour of burn time per inch of container diameter, capped around four hours. A three-inch jar wants roughly three hours on its first burn — long enough for melted wax to touch the glass all the way around, but not so long that the wick mushrooms or the jar overheats. If the top is fully liquid edge to edge, you've done it right. Blow it out, let it cool completely, and the rest of the candle is much easier to manage.
How to Rescue a Tunneling Candle
A candle with a two-inch-deep well is not a lost cause, as long as there's still wick left to work with. Start by trimming the wick to a quarter inch and picking out any debris — spent matches, bits of wick, dust.
The foil tent method
- Tear a piece of aluminum foil wide enough to cover the top of the jar with a couple of inches to spare.
- Fold it over the rim and crimp the edges so it stays put, creating a loose tent.
- Cut a hole roughly an inch across directly above the wick. This lets the flame breathe while the foil traps heat around the rim.
- Light the candle and let it burn for one to two hours, watching it the whole time. The trapped heat melts the high walls, and the pool gradually levels out.
- Remove the foil, let the wax cool, then trim the wick again before the next burn.
You may need to repeat this over two or three sessions if the tunnel is deep. Never leave a foil-covered candle unattended, and keep the foil away from the flame itself.
The warmer reset
If you own a plug-in candle warmer, it does the same job with less fuss. Set the jar on the warming plate for an hour or two. The entire top layer melts evenly, including the walls, and when the wax cools you're left with a flat surface and a fresh start. It's the gentlest option for soy and coconut blends, which can scorch if you push them too hard.
Pour off the excess
If the well is deep and the wick is buried, you can pour off some of the melted wax to expose more wick. Very carefully — hot wax burns — tip the liquid into a disposable cup or a can lined with paper towel. Never pour wax down a drain.
What Not to Do
- Don't microwave it. Wax heats unevenly and the container isn't meant for it.
- Don't set the jar on a stovetop or in a pot of boiling water. Glass can crack and hot wax can splash.
- Don't chip at the walls with a knife. You can shatter the jar or send wax flying. Breaking off the rim also shortens the candle's life and rarely fixes the shape.
- Don't add water. Water and molten wax spatter badly.
- Don't keep burning a candle with less than half an inch of wax left. The glass gets hot and the wick can shift.
Burn Habits That Stop It Coming Back
Once the surface is level again, these habits keep it that way:
- Trim the wick to a quarter inch before every single burn. If the flame flickers or the wick curls and mushrooms, trim again.
- Burn in sessions of two to four hours. Longer than that and the wick gets long, the flame gets tall, and soot starts collecting on the glass.
- Let the candle cool for at least two hours between burns. Wax needs to re-set.
- Keep the candle out of drafts — away from vents, fans, doorways, and open windows.
- Choose wider jars with two or three wicks when you buy. Wide, single-wick candles are the hardest to keep even.
- Store candles covered and out of direct sun so dust and heat don't dull the surface.
- Use a snuffer or a wick dipper instead of blowing the flame out. Blowing can push the wick off-center and splatter wax up the glass.
When It's the Candle, Not You
Sometimes the wick is simply too thin for the container, and no amount of careful burning will give you a full melt pool. You'll know because the flame stays small and weak even when the wick is properly trimmed and the room is still. That's a manufacturing problem, not a technique one — gift it to someone with a candle warmer, or use it under a warmer yourself.
Wooden wicks are their own case. They need trimming too, but only the charred top edge, and they tend to burn hotter and faster than cotton. If a wooden wick keeps going out in a tunneled candle, the well is usually too deep for the flame to draw air.
Give the Next Candle a Fair Start
Set a timer for the first burn, trim the wick every time, and keep the jar where the air is still. That's the whole method. Do those three things and tunneling becomes a rare annoyance rather than the default outcome — and the candle you paid for actually burns the way it was meant to, right down to the last half inch. As always with open flame, never leave a burning candle unattended, and keep it clear of children, pets, curtains, and anything else that could catch.
Photo: NoName_13 / Pixabay